

Four of the excavated buildings in Trench P – Structures One, Eight, Twelve and Twenty-Nine – cluster around a large, open-air paved area that appears to have marked the centre of the Neolithic complex. At one point in its history at least.
Dubbed the “central paved area”, the most prominent feature of this open space is a standing stone.
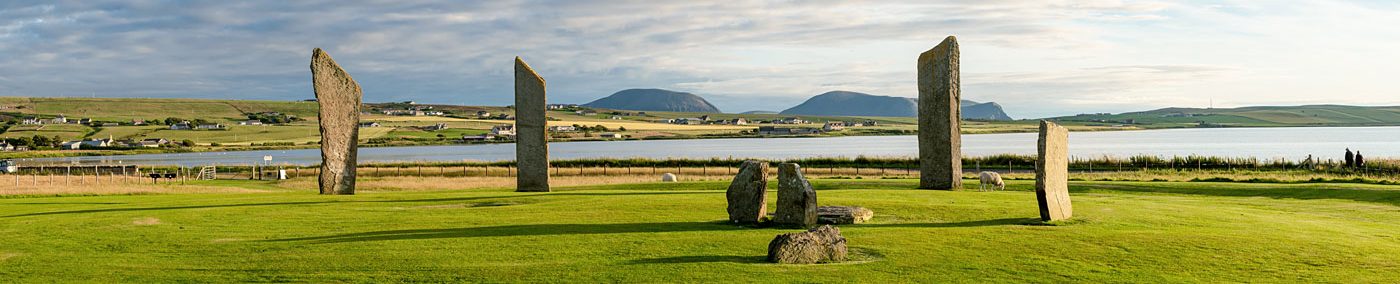
Dwarfed by those within the nearby Stones of Stenness and Ring of Brodgar, the squat megalith is aligned to Structure One’s southern entrance and has become known as – yes, you guessed it – the “central standing stone”.


Although we once thought it to be solitary, it may be that stone is one of a number found across the Ness complex. But while the others were incorporated into the fabric of later structures, the central standing stone was left alone.
Standing just over a metre high, 79 centimetres wide and 16 centimetres thick, the megalith does not stand in the middle of the paved area but seems instead to be central to the entire complex.
Although questions remain regarding the contemporaneity of the site’s northern and southern boundary walls, it is surely more than mere coincidence that the stone is equidistant from both.


Aligned north-south – with incised decoration along its northern edge – the stone’s faces are orientated east-west, following the long axis of the later Structure Ten.

Two low, parallel stone walls ran from Structure One to the central standing stone but rather than representing a building these may have controlled movement between the two.
Given its Structure One alignment, the stone was clearly in position at the same time as the surrounding buildings. What is not so clear, however, is whether it was raised at the same time or pre-dated them.
What is beyond doubt is the paved area’s relationship to the surrounding buildings. Its central location suggests use as a meeting place.
At the nearby Barnhouse settlement the buildings were arranged in two rings surrounding a central, open area. Activity at Barnhouse seems to have focused on this area, which featured a large, open-air hearth and was home to a range of crafting activities.
What took place at the Ness’ central paved area is unclear as the area – like the buildings themselves – seems to have been kept scrupulously clean. As time went on, however, any significance once attached to the area began to wane.
Around 2900BC, when Structures One, Eight and Twelve had lost their primacy and entered their second, less grand, phases of use, the paved area had become a dumping ground for refuse and midden.


Other standing stones
In August 2019, our dig diary exclaimed:
That was the day we realised that the central standing stone was one of a number of megaliths on site that appeared to relate to structures.


Outside Structure Twelve’s eastern entrance is a standing stone of roughly the same proportions, but which is aligned a few degrees off east-west.
Although it stands a short distance from, and perpendicular to the two stones that flank the doorway, this megalith probably originally relates to Twelve’s predecessor, Structure Twenty-Eight.
Another stood in the remains of Structure Nineteen, a later building between Structures One and Eight.
Also aligned north-south, this monolith stood parallel to the central standing stone.
Where the Structure Nineteen megalith fits into the story of the site is as yet unclear.
The final candidate is found outside the south-eastern entrance to Structure Fourteen.
Also aligned north-south, this suspected standing stone was incorporated into the doorway of Structure Sixteen, a smaller building that stood directly opposite Fourteen.
The fact the stone does not align exactly to Fourteen’s doorway, and was integrated into the fabric of a contemporary building, suggests it pre-dated them both and may instead relate to Structure Thirty-Six, their predecessor.


